

Fairy Designs Tutorials-2014
This tutorial is my own creation and written by me October 25, 2014. Any resemblance to others is purely coincidental.
This tutorial was written for those with a working knowledge of PSP.
Please do not copy or claim as your own.
Please do not copy or claim as your own.
Anything you produce from this tutorial is yours to do what
you wish for personal use only. No profit is to be made from your results.
Materials Needed:
PSP X3 or any version should work.
Tube of choice. I am using the beautiful art of VeryMany.
You must have a license to use this art.
Scrap Kit Wine Country by Mellie Beans.
Kit can be purchased at Mystical Scraps or HeartBeatz Creations..
Mask of choice. I am using 539InsatiableDreams from InsatiableDreams.
Font of choice. I am using A Gentle Touch.
Lets begin.
Open a new 750x700 transparent image.
Flood fill with white.
Add a new raster layer - select all.
Open pp02 - copy - paste into selection - select none.
Apply the mask - merge group - resize 85%.
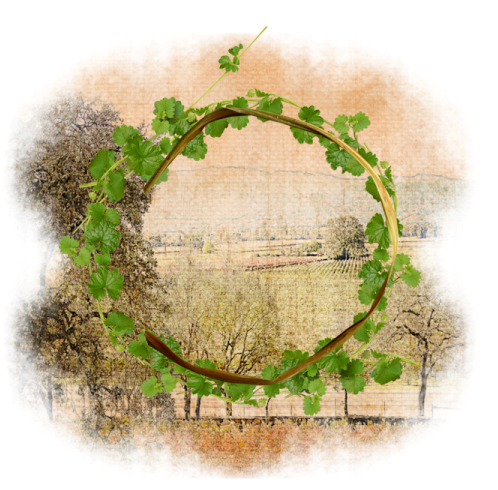
Open e30 - resize 65% - copy - paste as new layer.
Move up a little bit.
You should have something like this.

Open e28 - copy - paste as new layer.
Position on the leaf frame.
Erase as below.

Tube of choice. I am using the beautiful art of VeryMany.
You must have a license to use this art.
Scrap Kit Wine Country by Mellie Beans.
Kit can be purchased at Mystical Scraps or HeartBeatz Creations..
Mask of choice. I am using 539InsatiableDreams from InsatiableDreams.
Font of choice. I am using A Gentle Touch.
Lets begin.
Open a new 750x700 transparent image.
Flood fill with white.
Add a new raster layer - select all.
Open pp02 - copy - paste into selection - select none.
Apply the mask - merge group - resize 85%.
Open e30 - resize 65% - copy - paste as new layer.
Move up a little bit.
You should have something like this.
Open e28 - copy - paste as new layer.
Position on the leaf frame.
Erase as below.
You should have this.
Move layer under the leaf frame layer.
Highlight top layer.
See my tag for placement.
Open you tube - resize as needed - copy - paste as new layer.
Open e09 - resize 15% - free rotate - 15 - right - copy - paste as new layer.
Move under the tube layer.
All of the following also go under the tube layer.
Duplicate - resize 85% - free rotate 38 - right.
Duplicate - position to the right.
Duplicate - free rotate 23 - right.
Duplicate - free rotate - 35 - right - position to the left.
Duplicate - free rotate - 90 - left - move above the tube layer.
Open e24 - resize 25% - copy paste as new layer.
Move under the tube layer.
Open e20 - resize 45% - copy - paste as new layer.
Open e32 - resize 45% - copy - paste as new layer.
Move between the glass and bottle layer.
Open e21 - resize 65% - copy - paste as new layer.
Move under tube layer.
Add a drop shadow of choice.
Crop and resize to your liking. Sharpen all.
If you like add text to each sign. I erased the text where the leaves are over the sign.
Add © copyright information, license number and any text or name you want. Save as transparent png.
Thank you for trying my tut and I hope that you enjoyed it. Don't forget to send me your results so that I may display them in the Show off Gallery.
Hugs♥Terisa
No comments:
Post a Comment